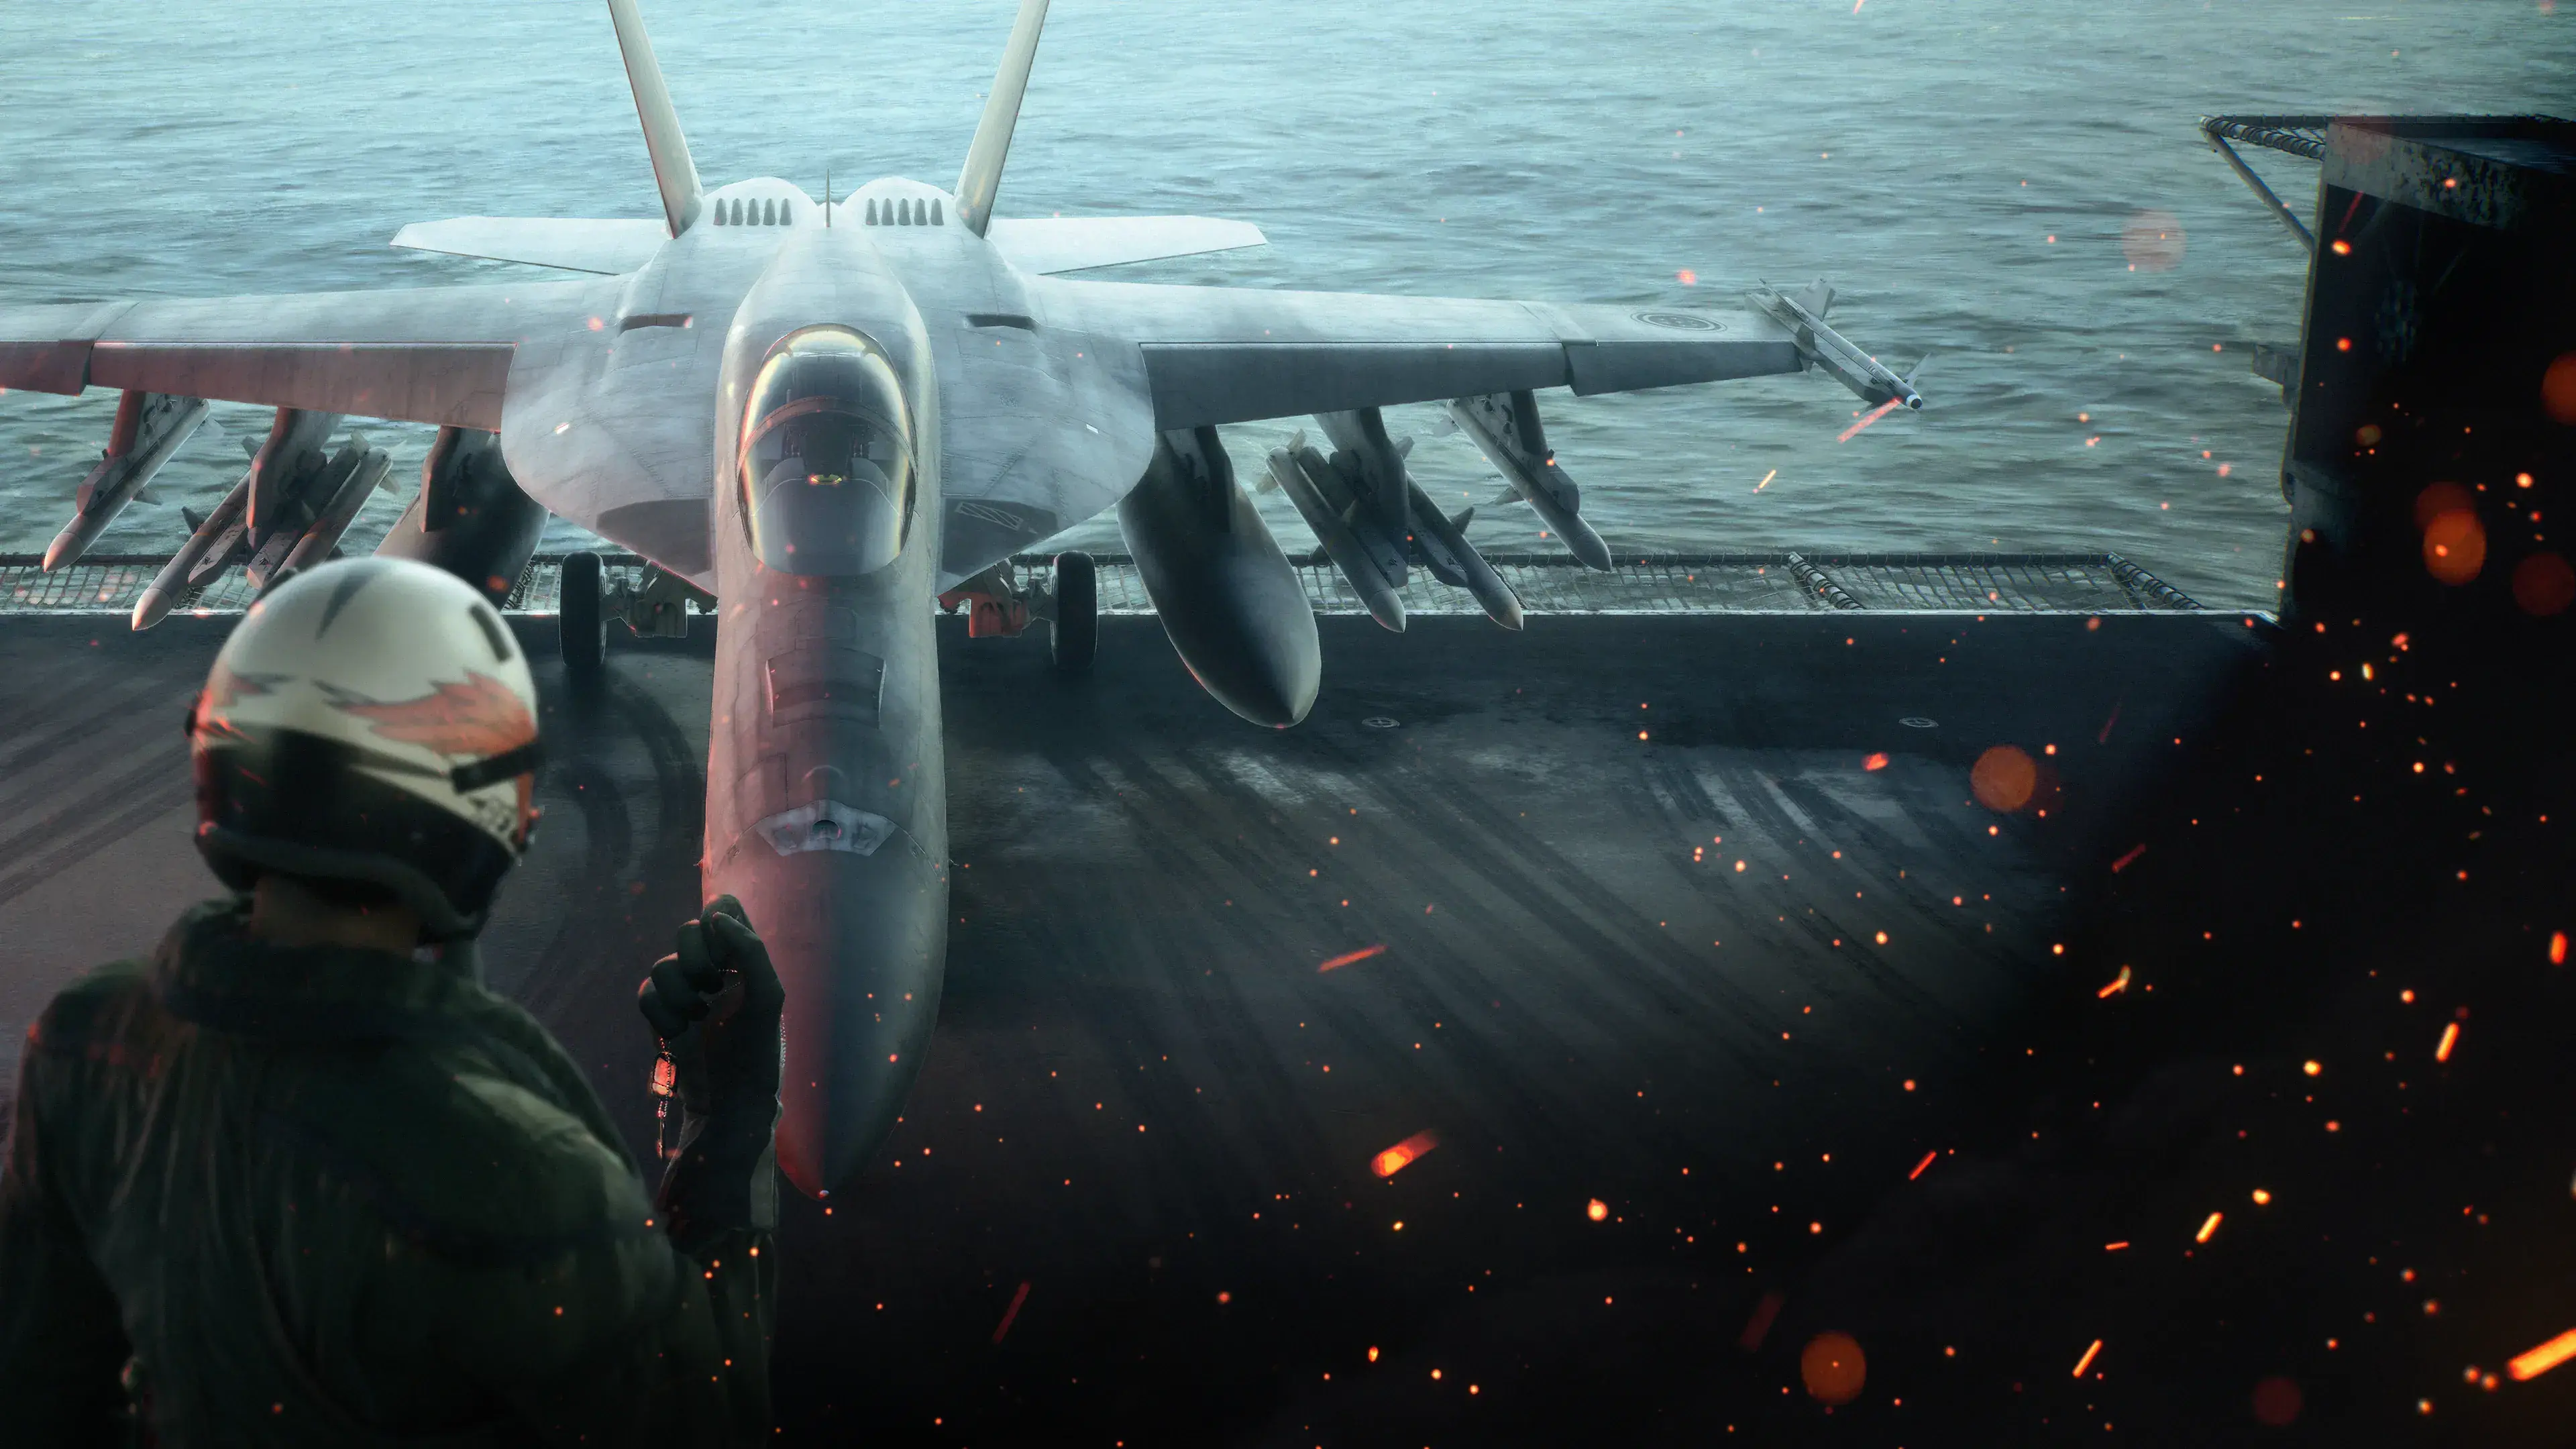
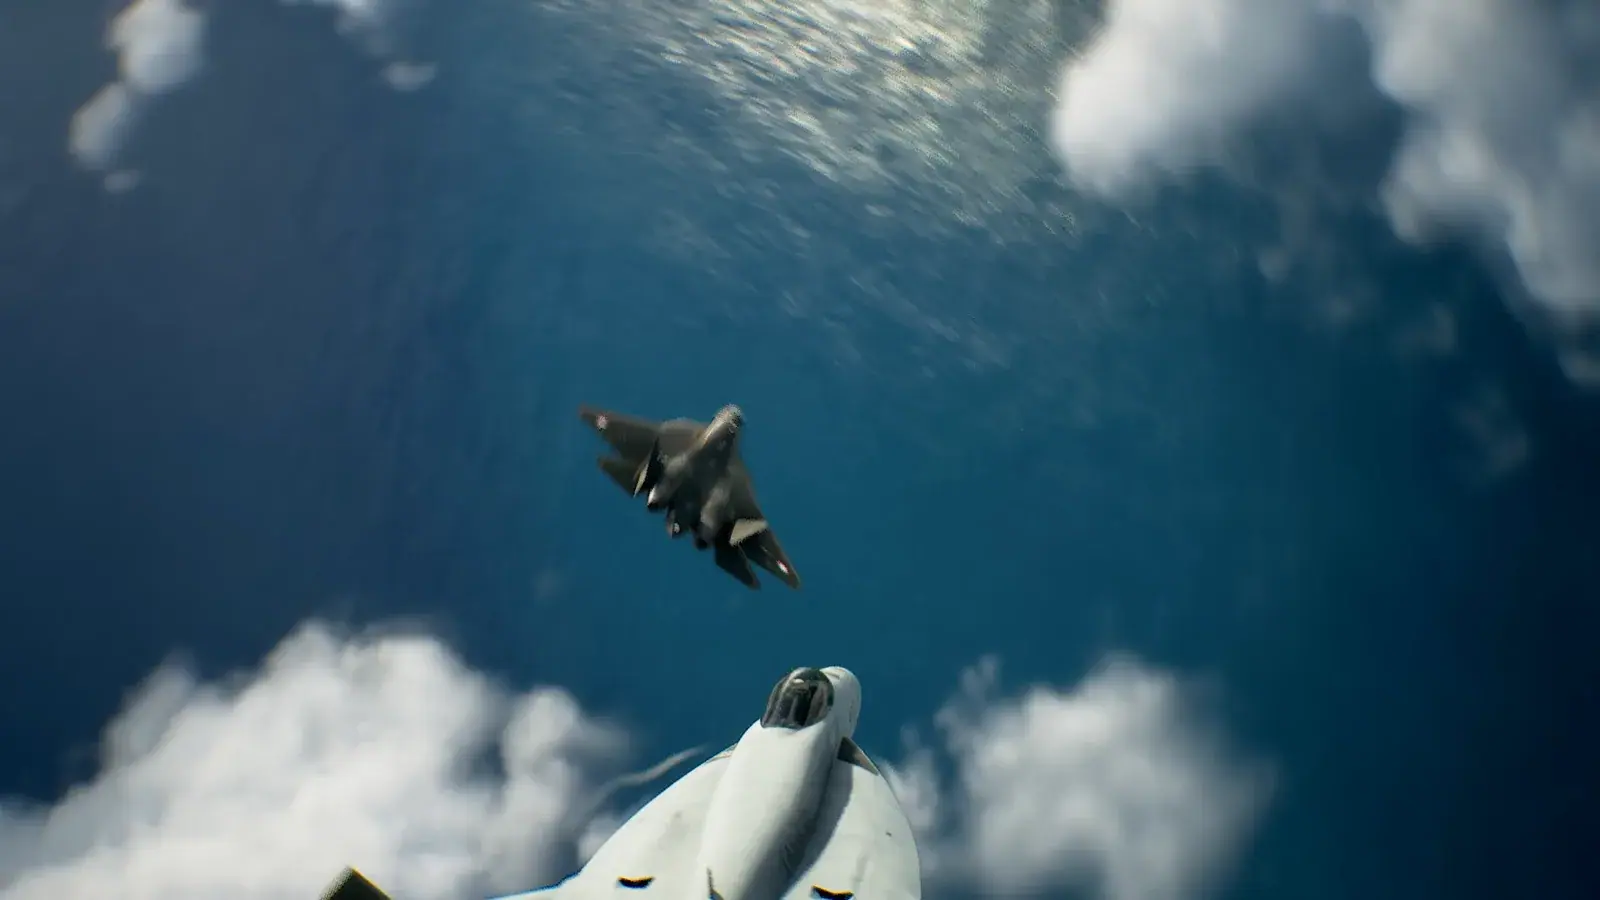
Shadow 22 is Colonel Girish Toprak, callsign Ares, the leader of Lux Lunae’s elite 22nd Unit. You fight Ares and his Su-57 formation during Mission 28, “A Thousand Points of Light.” The practical answer to this difficult dogfight is to make your machine gun the primary weapon, use missiles to provoke evasive maneuvers, and attack during the brief straight or low-speed flight that follows.
Do not treat every lock as a firing opportunity. Shadow 22 and his wingmen repeatedly defeat missile tracking with flares and extreme post-stall maneuvers. A disciplined gun pass is usually more useful than launching another missile into an active maneuver. QAAMs, SASMs, improved guidance, and ESM support can help, but none of them guarantees a quick kill.
This guide contains campaign and Mission 28 spoilers.
For the complete bomber-to-boss route, see Mission 28 S rank. Use the PSM practice guide to understand low-speed recovery and the aircraft selection guide for combat roles.
Version scope — October 7, 2026: This page was edited from supplied research. No numbered game build or independent playtest is recorded for this guide. Check the current in-game descriptions and your platform before applying build-sensitive conditions.
Who Shadow 22 Is
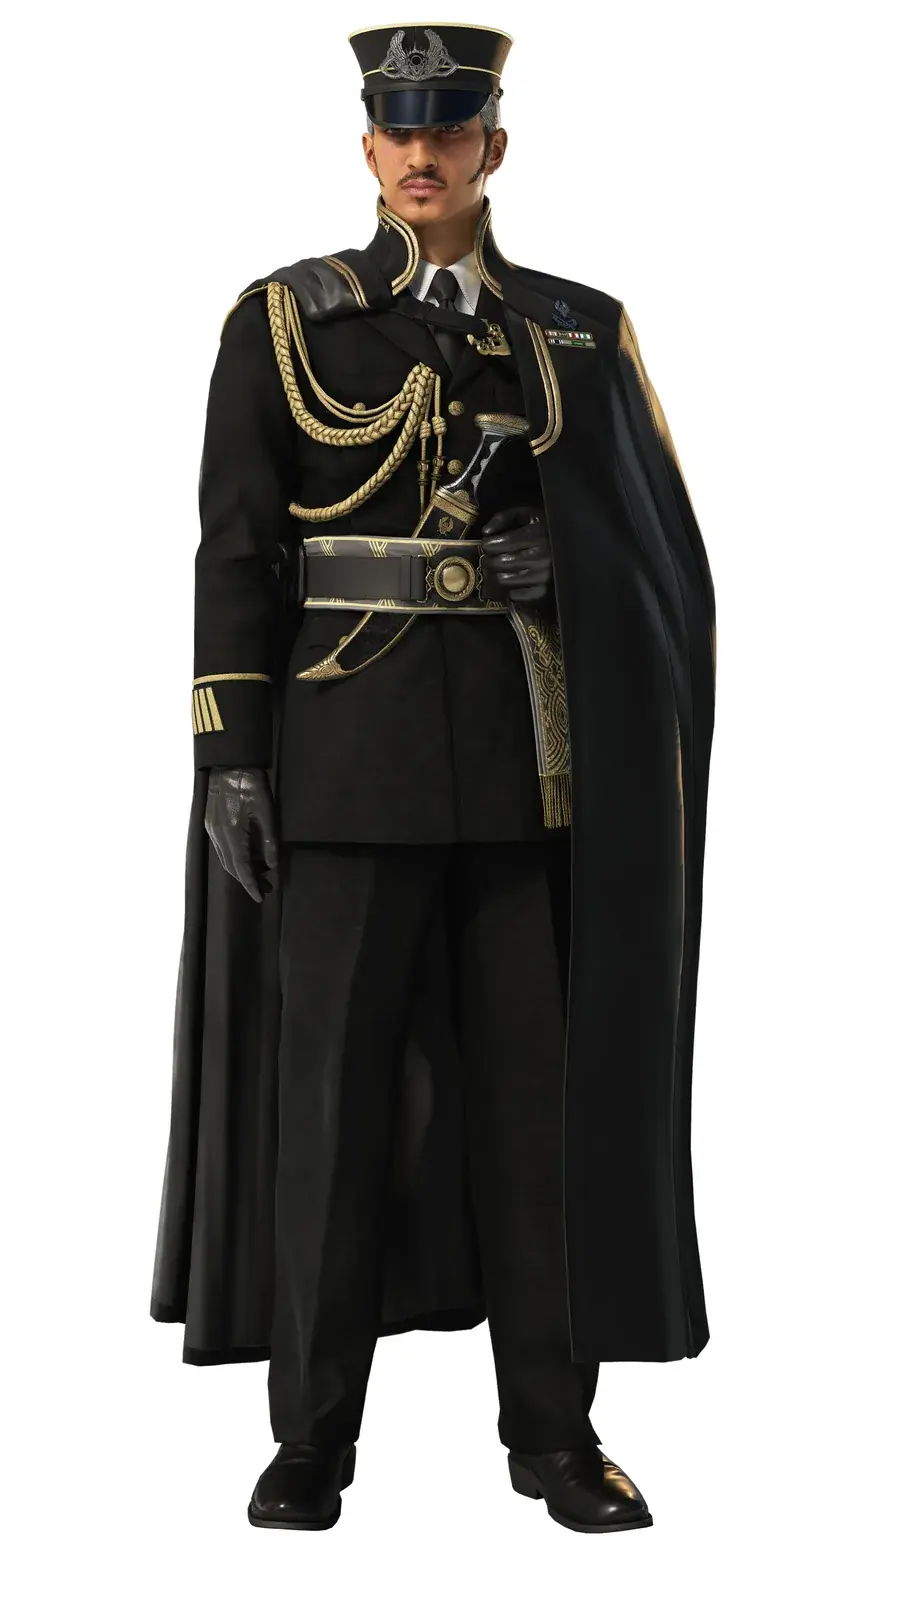
Shadow 22 is not the name of one aircraft type or a generic enemy. It is Girish Toprak’s operational designation as leader of Lux Lunae’s 22nd Unit. His personal callsign is Ares, and his aircraft number is 022.
| Field | Shadow 22 detail |
|---|---|
| Pilot | Colonel Girish Toprak |
| Callsign | Ares |
| Unit | Lux Lunae 22nd Unit |
| Affiliation | Sotoan Air Force |
| Aircraft | Su-57 |
| Campaign role | Elite ace assigned to hunt the Wings of Theve |
Lux Lunae is also called Shadow Squadron. Its most decorated pilots serve in prestigious double-digit units, with the 22nd Unit occupying the top tier of that structure. The unit’s full-moon emblem distinguishes it from the other Lux Lunae formations.
Toprak is courteous outside combat but ruthless and defiant in the air. His rivalry with the Wings of Theve runs through the campaign and culminates in the battle over Cima Island. That history explains why Mission 28 presents him as a personal opponent rather than another high-value target.
Why Shadow 22 Is So Hard to Hit
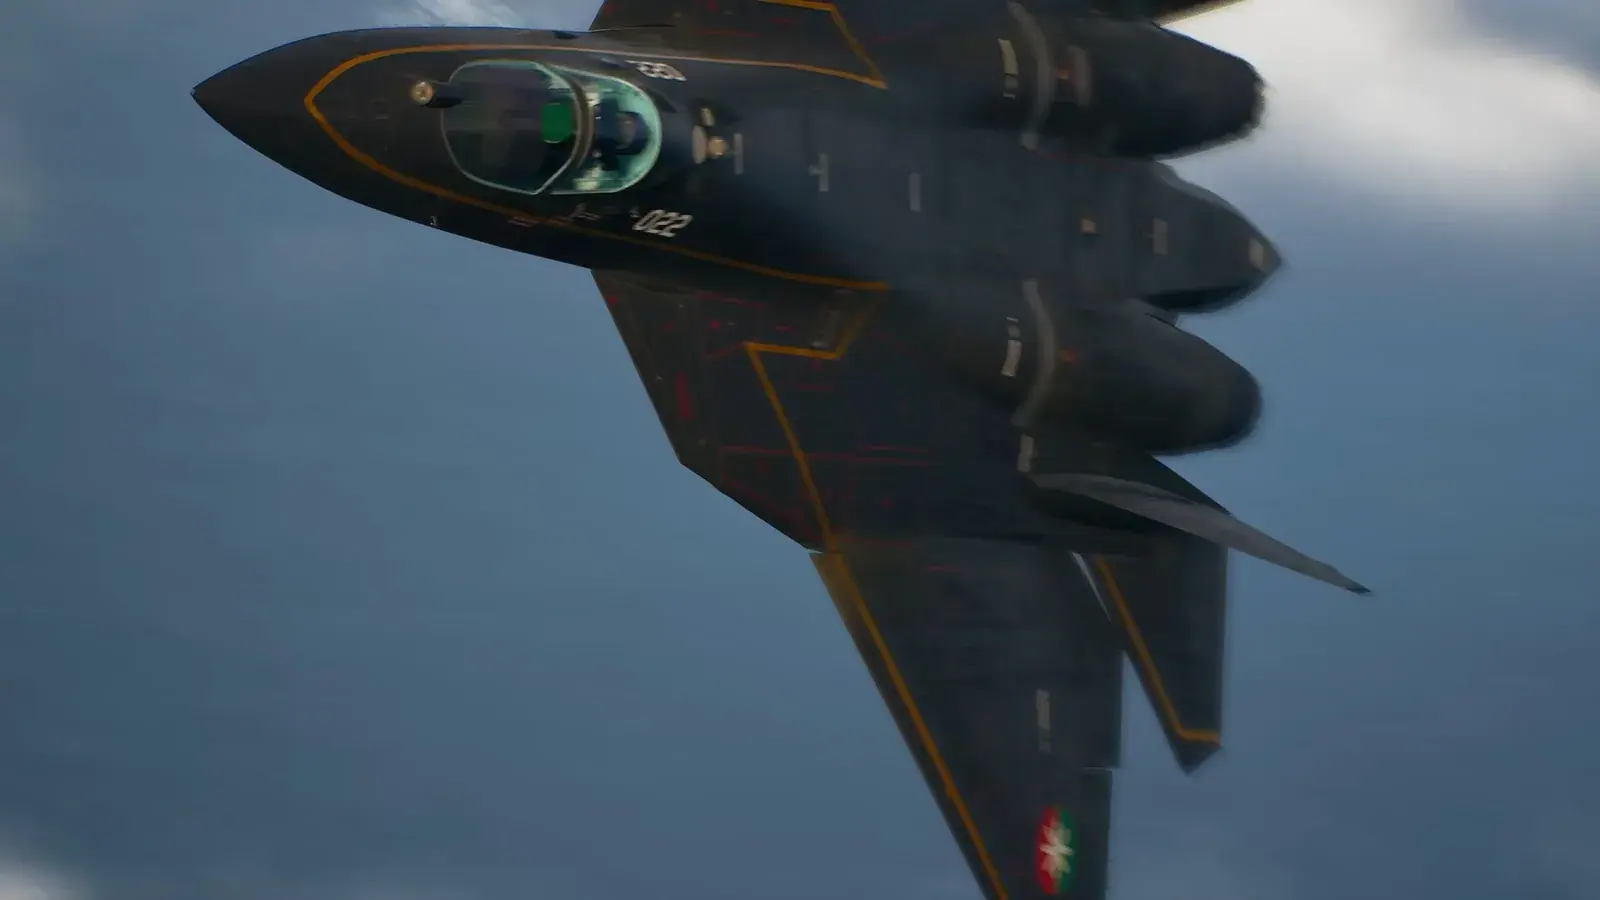
The fight punishes routine missile spam. Ares and his wingmen can flare repeatedly, change direction sharply, and perform post-stall maneuvers that ruin an otherwise promising firing solution. Missiles may appear to bend away even when the target seemed centered and vulnerable at launch.
The useful distinction is between a visual opening and a tracking opening. A Shadow can look nearly stationary during a dramatic flip while still disrupting missile guidance. That same low-energy maneuver can, however, create a valuable gun opportunity because bullets do not depend on a missile lock.
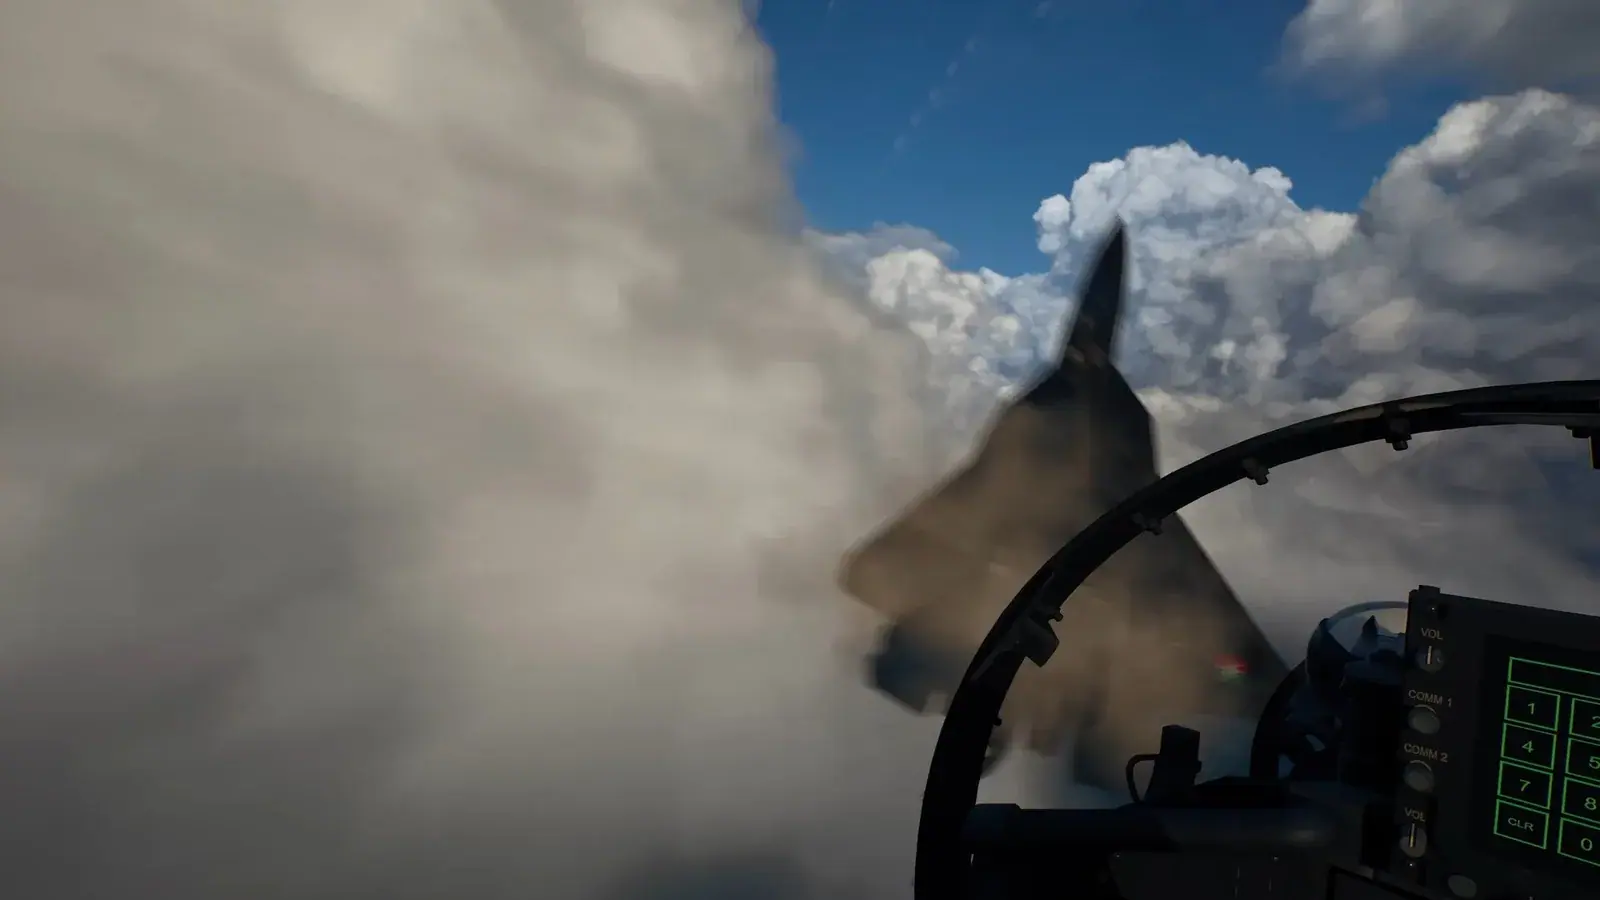
Shadow 22’s characteristic maneuver is associated with the Parthian shot: the aircraft reverses or rotates aggressively while remaining dangerous to a pursuer. Chasing directly through the maneuver often makes the gun sight swing across the screen and leaves you exposed to a counterattack.
The solution is not to turn harder forever. Preserve enough separation to see the maneuver develop, point toward the flight path the enemy must exit along, and bring the gun stream onto that path. Treat claims of complete missile immunity, a precise flare cooldown, or a fixed number of required hits as unconfirmed; the player accounts disagree on those details.
Recommended Combat Setup
Choose a responsive aircraft you can aim comfortably rather than assuming the most expensive aircraft will solve the fight. Speed is useful earlier in Mission 28, but the Shadow engagement rewards controllable nose movement and stable gun tracking.
| Setup element | Recommended role | Limitation |
|---|---|---|
| Machine gun | Primary source of consistent damage | Requires controlled lead and close tracking |
| Standard missiles | Provoke flares or an evasive maneuver | Repeated launches into active maneuvers waste time and ammunition |
| QAAM | Pressure a target after it settles | Can still lose tracking against a post-stall maneuver |
| SASM | Apply proximity damage without a perfect direct hit | Availability depends on your aircraft and loadout |
| ESM support | Improve missile and special-weapon performance | Support does not remove the need for good timing |
| Gun assistance or gun-focused parts | Reduce the workload of holding fire and tracking | Parts cannot correct a poor approach angle |
If the aiming display feels too unstable, test the alternate gun-sight option before committing to another long attempt. This is a preference adjustment, not a guaranteed accuracy boost. Keep whichever sight makes the target’s future path easier for you to read.
For wingmen, an electronic-warfare aircraft is a reasonable support choice if it is already available. You can also allow special-weapon use and issue attack-oriented orders when you want the squadron to pressure separate targets. Wingman behavior varies during the chaotic battle, so regard their damage as support rather than the core of the plan.
How to Beat Shadow 22 and the 22nd Unit
Use the following loop for each member of the formation. It is designed to create repeatable gun opportunities without promising that every pass will connect.
-
Select one Shadow and observe before firing. Stay with the same target long enough to recognize its turns, flare use, and post-stall sequence. Constantly switching targets makes it harder to anticipate an exit path.
-
Approach with some separation. Do not immediately bury yourself in a slow turning contest. A little distance gives you room to see the maneuver and align your nose ahead of the target rather than chasing its current position.
-
Use one missile as pressure. Fire to encourage a flare, break, or post-stall maneuver. The missile’s job at this moment is to shape the target’s movement. Do not automatically launch a second missile while the first evasive action is still underway.
-
Watch for the low-speed exit. The best opening appears when the target finishes rotating, flies straight, or briefly loses momentum. Stop reacting to the spectacle of the maneuver and identify where the aircraft will travel next.
-
Lead with the gun sight. Place the sight along the exit path and use a sustained but controlled burst. If the reticle is oscillating around the aircraft, disengage slightly and rebuild the pass instead of holding the trigger while the nose is nowhere near the target.
-
Break away cleanly after a failed pass. Continuing a bad chase consumes time and can drag you into repeated stalls. Add speed, create space, reacquire the same target, and begin another setup.
-
Use guided special weapons only in a settled window. QAAMs can work from a favorable angle, while SASMs may produce damage through proximity. Launching either weapon during the target’s strongest evasive motion remains unreliable.
-
Confirm the destruction before changing targets. Radio updates and the target count help prevent you from abandoning a damaged Shadow too early. Once the formation has fewer aircraft, the fight becomes easier to read and your allies can concentrate their pressure.
Improving Your Gun Passes
The hardest part is usually getting the reticle onto a target that changes direction faster than your corrections. Avoid trying to solve this with yaw alone. Roll so that pitch becomes your main tracking input, then pull the nose through the enemy’s projected path. Small corrections are more useful than repeatedly snapping past the target.
Begin firing just before the aircraft crosses the gun line and walk the burst through it. Waiting until the reticle sits perfectly on the model can make you late, especially when the target is already accelerating away. Conversely, spraying continuously from a poor angle makes it difficult to see whether your aim is improving.
A Shadow performing a slow flip is tempting, but the middle of the animation is not always the easiest point to track. The exit is usually more readable. Let the aircraft reveal its new heading, align with that heading, and fire as it transitions back into forward flight.
If you are repeatedly stalling, widen the fight. A slower target does not mean your own aircraft must also remain at minimum speed. Recovering energy between passes gives you better control over when the next engagement begins.
Using Missiles Without Wasting the Clock
Missiles remain useful, but their purpose changes in this encounter. A standard missile can force movement, expose a straight exit, or distract a target while you close for guns. This is more economical than firing every weapon as soon as the lock indicator appears.
When using QAAMs, wait until you are close, behind the target, and outside the most violent part of its maneuver. Guidance upgrades and ESM support can improve the attempt, but timing remains decisive. SASMs offer another option because proximity damage does not demand the same direct impact as an ordinary missile. They still should not replace the gun plan.
Avoid drawing universal conclusions from one successful weapon. Some pilots complete the fight with guided weapons, while others report repeated misses with the same categories. Aircraft choice, installed parts, approach angle, difficulty, support coverage, and the target’s current maneuver can all change the result.
Choosing a Target Order
Taking out the wingmen first reduces the number of threats and leaves a cleaner final duel with Ares. This is the safer default when crossfire keeps interrupting your gun passes. Assign allies to spread pressure while you finish one selected aircraft at a time.
Targeting Shadow 22 first is also possible if he is already giving you clear gun openings. Removing the leader early may make the remainder feel less oppressive, but chasing him exclusively can waste time when another Shadow is presenting an easier shot. Use opportunity rather than story importance to decide.
Do not depend on a specific kill order for a guaranteed outcome. The essential rule is concentration: finish a vulnerable target instead of distributing brief, uncertain attacks across the entire formation.
Fixing Common Failure Patterns
- Every missile misses: Stop firing during post-stall movement. Use one missile to provoke the maneuver, then switch to guns as the target levels out.
- The gun sight will not settle: Increase separation, roll into the target’s plane of motion, and lead the exit rather than chasing the aircraft model.
- You run out of ammunition: Reserve guided weapons for settled targets. Guns remain the foundation of the strategy, and Mission 28 includes an opportunity to resupply.
- The timer expires with Ares remaining: Shorten unsuccessful chases. Break away earlier, rebuild a clean pass, and prioritize damage during low-speed exits.
- Several Shadows keep attacking at once: Use squadron orders to spread pressure or cover your approach, but stay committed to one vulnerable target yourself.
- A strong aircraft still feels ineffective: Reconsider control and weapon fit instead of relying on aircraft cost. A manageable gun platform can be more useful here than a faster aircraft you cannot aim smoothly.
- The fight appears scripted or unwinnable: The Shadows can be destroyed. Their evasive behavior makes many missile launches ineffective, but confirmed gun hits and properly timed special weapons can end the encounter.
The safest expectation is gradual improvement rather than a guaranteed instant solution. Learn one opening, repeat it, and avoid spending the remaining mission time testing unsupported immunity theories or uncertain damage thresholds.