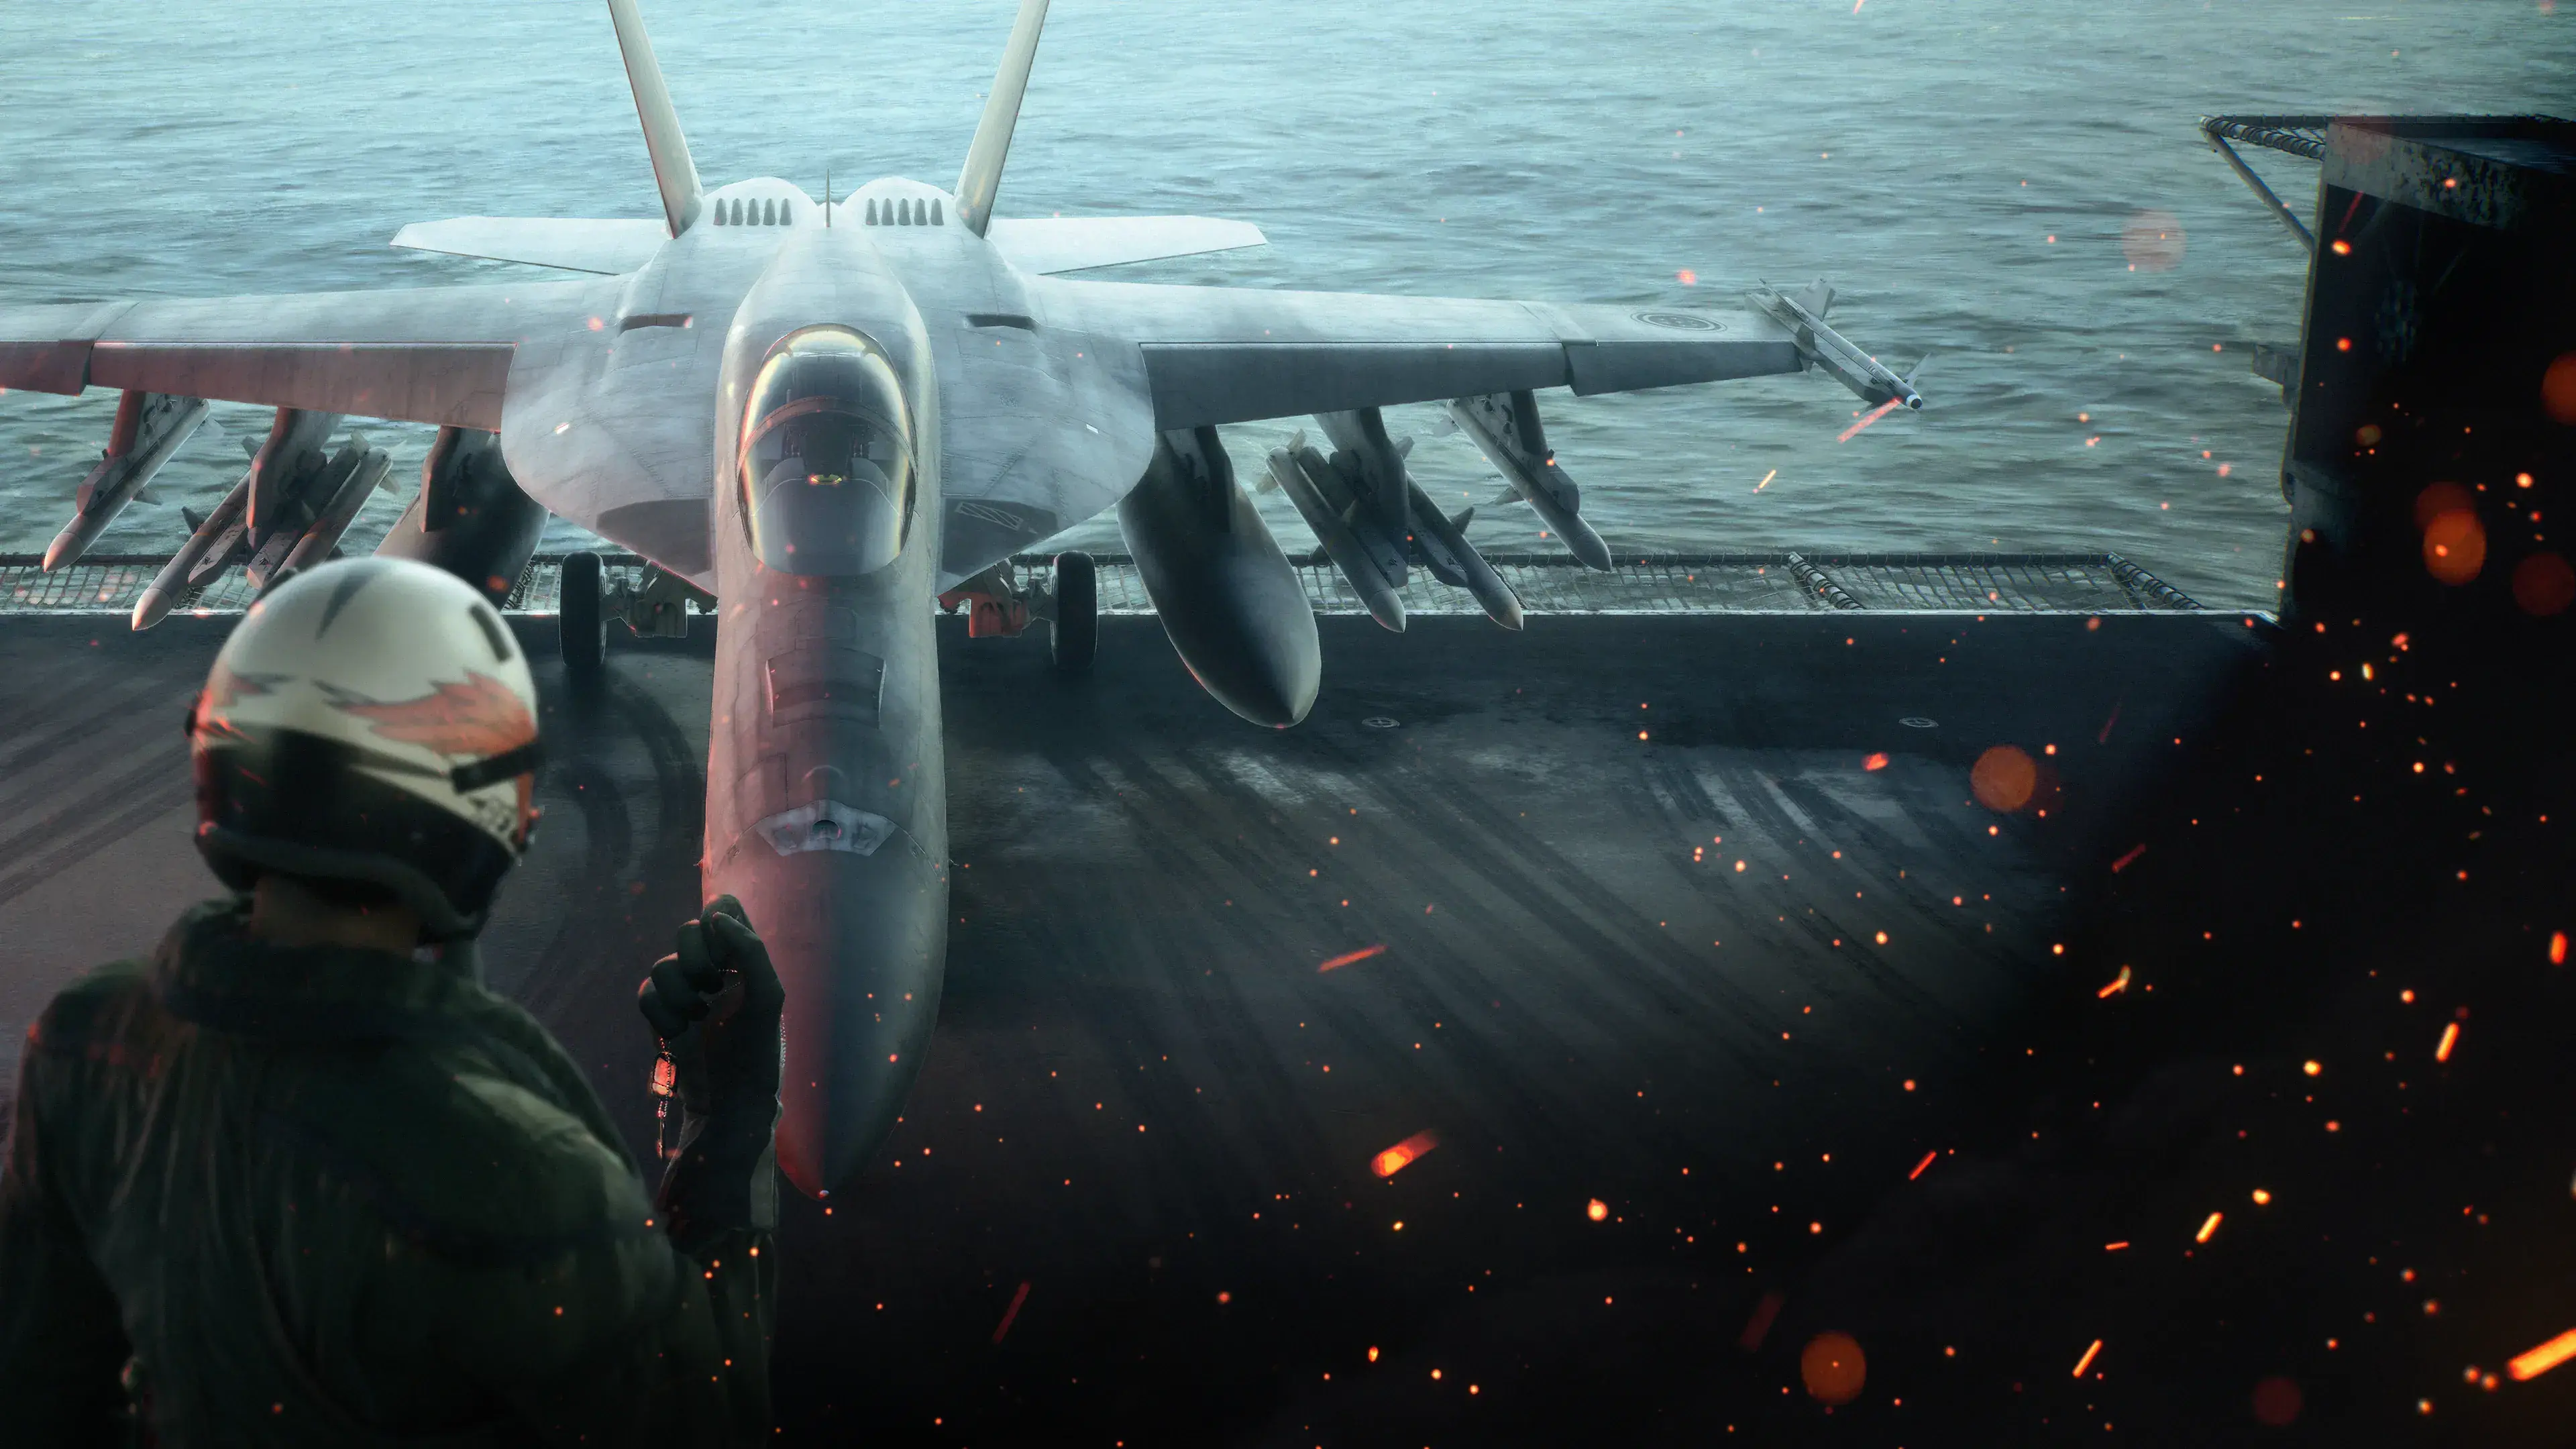
Ace Combat 8 Mission 8, Retaking of Theve II, is a long combined air-and-ground support battle. Your job is to keep the landing force alive while it reaches Theve, breaks through the shoreline defenses, and captures the enemy headquarters. The safest approach is to attack whatever can immediately damage the landing craft or advancing ground troops: ships and attackers first, artillery and anti-air units next, then bombers before they reach their drop points.
Do not let the Shadow escorts pull you away from the actual threat. When bombers appear, destroy the bombers first. Likewise, the land battleship action near White Valley is being handled by another force during this mission. Stay inside your assigned battle area and avoid fighting near the Enso research complex east of the capital’s shoreline.
Use the campaign list to locate the sortie and the aircraft selection guide to prepare for the mixed target set. Keep Ace collection secondary to troop survival.
Version scope — October 7, 2026: This page was edited from supplied research. No numbered game build or independent playtest is recorded for this guide. Check the current in-game descriptions and your platform before applying build-sensitive conditions.
Mission 8 at a glance
| Detail | Mission information |
|---|---|
| Mission | Retaking of Theve II |
| Operation | Operation Gut Shot |
| Date | December 24, 2029 |
| Location | Theve, capital of the Federation of Central Usea |
| Main task | Protect the landing force and support its advance to the enemy headquarters |
| Main dangers | Ships, ground-attack aircraft, helicopters, rocket artillery, anti-air vehicles, bombers, and Shadow escorts |
| Key rule | Prioritize enemies attacking friendly forces rather than chasing every fighter |
Mission 8 changes focus several times. At first, the landing craft are exposed at sea. After they reach the beach, artillery and armored units begin obstructing the advance. Bombers then arrive from different directions, sometimes accompanied by Shadows. The final push combines capable enemy aircraft with fortified ground targets near the headquarters.
Recommended preparation before the sortie
Choose an aircraft that can change roles without forcing you to return repeatedly to the same target. Much of the mission is air-to-ground work, but several bomber interceptions make air-to-air performance important as well. A multirole setup is the most forgiving choice. A ground-attack special weapon can reduce the number of passes required against clustered defenses, provided you remain comfortable intercepting large aircraft with standard missiles and guns.
Preserve ammunition from the beginning. The briefing and radio dialogue both emphasize the number of enemies, and the battle continues well beyond the initial landing. Use guns against slow, exposed, or already damaged targets when the approach is safe. Send wingmen against a separate group when several threats are active, but keep personal control of anything about to attack a landing craft, convoy, or ground position.
Treat friendly distress calls as priority warnings. You do not need to react to every radio line, but calls about attackers, artillery, bombers beginning a run, or a route being blocked identify the targets most likely to halt the operation.
Mission 8 walkthrough
Stage 1: Clear the approach to the landing sites
Enemy ships initially block the landing craft, while attackers move in before the troops can reach shore. Start with the ships that control the approach, then turn toward aircraft threatening the landing formation. Avoid following one agile target far away from the fleet; a prolonged chase gives the remaining attackers time to strike the craft.
Use a clean attack rhythm: lock a ship, fire, confirm whether another hit is needed, and move immediately to the next threat. If an attacker crosses your path while you are lining up a ground or naval target, interrupt the pass and remove it. The landing force is the mission objective, so protecting it is more important than finishing targets in a visually tidy order.
Enemy attack helicopters and additional ground-attack aircraft join the fight as the approach develops. Keep checking the tactical display between passes. Targets closest to the landing craft deserve attention even when a more distant group appears easier to destroy.
Stage 2: Protect the landing craft from mobile attackers
Rocket artillery begins moving toward the landing area, and Su-25s approach from more than one direction. Both can pressure the landing force while you are occupied elsewhere. Destroy rocket artillery as soon as it enters a practical attack line, then intercept aircraft actively targeting the craft.
The parallel battle against the land battleship produces dramatic radio traffic, but it does not replace your current objective. Purple Magic and the White Valley force are attempting to immobilize it. Do not leave the operation area to join them. Continue clearing the enemies around Theve until the landing craft reach the beach.
Watch your angle when making low attacks. A shallow pass may feel faster, but it can leave too little space to recover, especially when clouds or darkness reduce visual references. Approach from enough altitude to identify the target group, release from a stable line, and climb before turning back. This also gives you a better view of new aircraft entering the area.
Stage 3: Suppress the shoreline and open the advance routes
Once the landing force reaches shore, the threat shifts to enemy ground units advancing toward the beach. Anti-air vehicles, artillery, and fortified firing positions can pin the troops down before they assemble and move inland. Clear anti-air targets early so later passes are less disruptive, then remove the artillery and armored units blocking the routes.
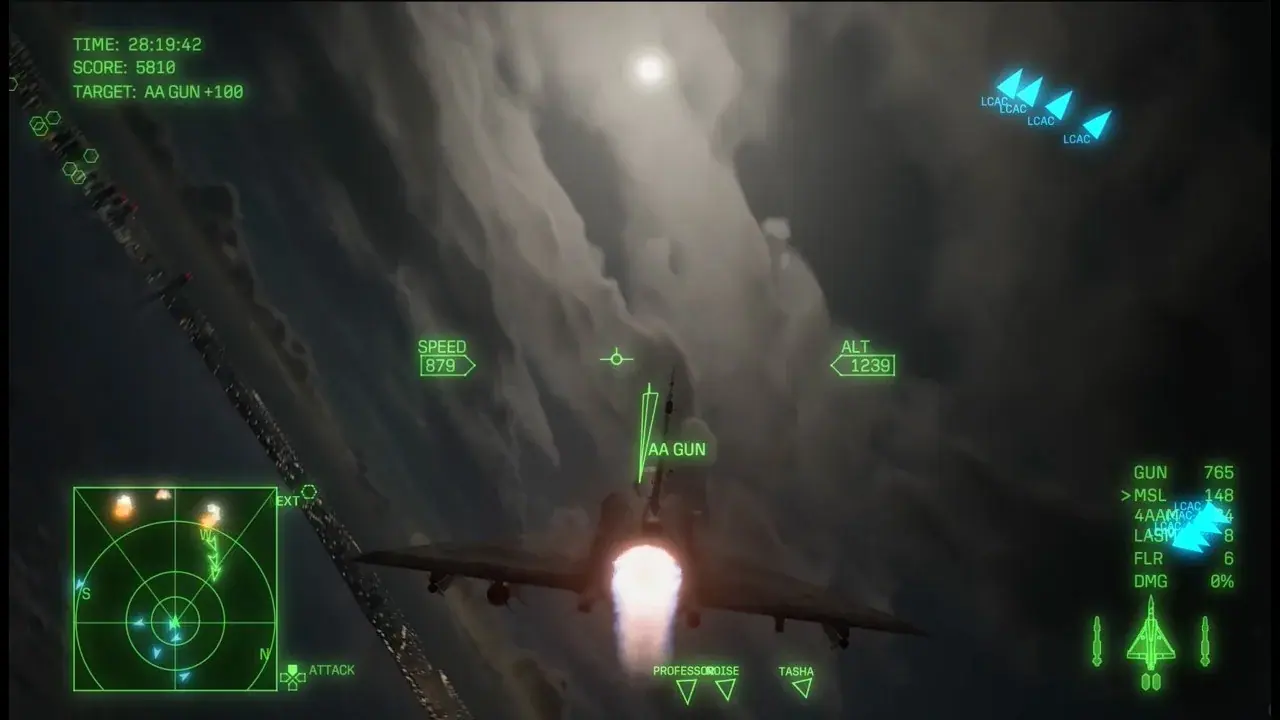
Remove anti-air positions while protecting the landing force.
Friendly units advance along separate routes, so listen for reports that identify which sector is stalled. If one group reports that its firing position has been eliminated while another remains under bombardment, move to the active problem rather than continuing to circle the cleared area. Destroying nearby optional targets is useful only when it does not delay relief for a route taking heavy fire.
Ground targets often sit close enough for a single well-aligned run to cover several positions. Line up along the formation instead of turning sharply between individual units. After releasing a special weapon or missiles, continue through the target area, check the result on the display, and set up a fresh pass. Repeated tight turns over anti-air defenses waste time and make it harder to notice an incoming bomber warning.
Avoid combat near the Enso research complex east of the shoreline. The briefing explicitly tells your force not to engage in that area. Keep attacks centered on marked hostile units threatening the landing and advance routes.
Stage 4: Intercept bombers before their attack runs
Bombers are the most urgent airborne targets in Mission 8 because they can inflict heavy damage on the ground force. The first group approaches from the south, and later groups arrive from other directions. Turn toward each warning promptly instead of waiting for the bombers to become convenient targets.
Shadows may escort the bombers, but the mission dialogue makes the priority clear: you do not have to engage the escorts before attacking the bombers. Lock the large aircraft, approach from a stable angle, and stay with the group until every bomber is confirmed destroyed. Do not assume one missile volley finished a target without checking the confirmation.
If a Shadow gets behind you, evade long enough to break the immediate attack, then resume the interception. Entering a full dogfight while bombers continue toward the drop point solves the wrong problem. Wingmen can occupy escorts or add damage, but your route should remain anchored to the bombers.
More than one bomber wave can appear during the ground advance. After clearing a wave, turn back toward the threatened route and continue removing artillery or vehicles. Keep enough standard missile ammunition for later interceptions rather than spending every shot on distant escorts.
Stage 5: Break the final defense near the headquarters
As friendly forces approach the enemy headquarters, capable enemy aircraft enter with equipment suited to attacking ground targets. The reported group includes F-15Es and Mirage 2000s. These aircraft matter because they threaten both your squadron and the troops below, so intercept them when they begin pressuring the advance.
The final area also contains tanks and machine-gun positions blocking the headquarters approach. Alternate between air and ground threats according to what is stopping the friendly force. If radio reports say the convoy cannot advance, clear the marked vehicles and defensive positions. If enemy aircraft are attacking your allies, create space in the air before beginning another low pass.
Do not chase a retreating fighter away from the objective while the barricade remains intact. A short defensive engagement is enough if it lets you return to the required targets. The operation concludes after the remaining hostile targets are destroyed and the ground force enters the command center. The signal flare near the headquarters confirms that the position has been captured.
Target priority during the mission
| Situation | First target | Next target | Lower priority |
|---|---|---|---|
| Landing craft still at sea | Attackers threatening the craft | Blocking ships and nearby helicopters | Fighters moving away from the landing area |
| Troops assembling on the beach | Rocket artillery and anti-air vehicles | Armored units and firing positions | Distant aircraft not attacking friendlies |
| Bomber warning active | Bombers approaching a drop point | Escorts that prevent a clean interception | Remaining ground targets that are not causing immediate losses |
| Route to headquarters stalled | Vehicles and fortified positions blocking the route | Ground-attack aircraft threatening the convoy | Enemies outside the active route |
| Final defense | Required air or ground targets attacking the advance | Remaining marked defenders | Long pursuits away from headquarters |
This order is a decision guide, not a guarantee that targets will always appear in a perfectly fixed sequence. Use the mission warnings and the position of friendly units to identify which threat is currently capable of causing the most damage.
Common causes of failure
The most damaging mistake is treating Mission 8 like a score-attack sortie and chasing whichever target is easiest to reach. Friendly survival drives the operation. A bomber nearing its run or artillery firing into a stalled convoy matters more than an escort circling behind the main battle.
Another common problem is using too much ammunition during the opening naval fight. Confirm destruction before firing again, use guns when a safe opportunity appears, and let wingmen contribute. Saving even a modest reserve makes the later bomber waves and headquarters defense more manageable.
Low, repeated ground passes can also create avoidable risk. If anti-air fire is disrupting every approach, destroy those defenses before attacking heavier units. Climb out after each run rather than trying to turn inside the target area.
Finally, do not divert toward the land battleship or the Enso zone. The radio story makes both locations sound important, but your assigned battle remains the landing and advance through Theve. Leaving friendly forces unsupported can cost more than any extra enemy you destroy elsewhere.
Mission completion checklist
- Clear the ships and attackers obstructing the landing approach.
- Protect the landing craft from helicopters, Su-25s, and rocket artillery.
- Remove anti-air units, artillery, and armored positions after the troops reach shore.
- Turn immediately toward bomber warnings and attack bombers before their escorts.
- Revisit whichever ground route reports that it is blocked or under heavy fire.
- Preserve enough ammunition for the later air threats and headquarters defenses.
- Stay away from the Enso research complex and do not pursue the land battleship.
- Clear the final aircraft, tanks, and machine-gun positions so the troops can capture the command center.
This walkthrough prioritizes a reliable mission clear. The current information does not establish a fixed score or time threshold for an S rank, so avoid building your run around an unverified numerical requirement.