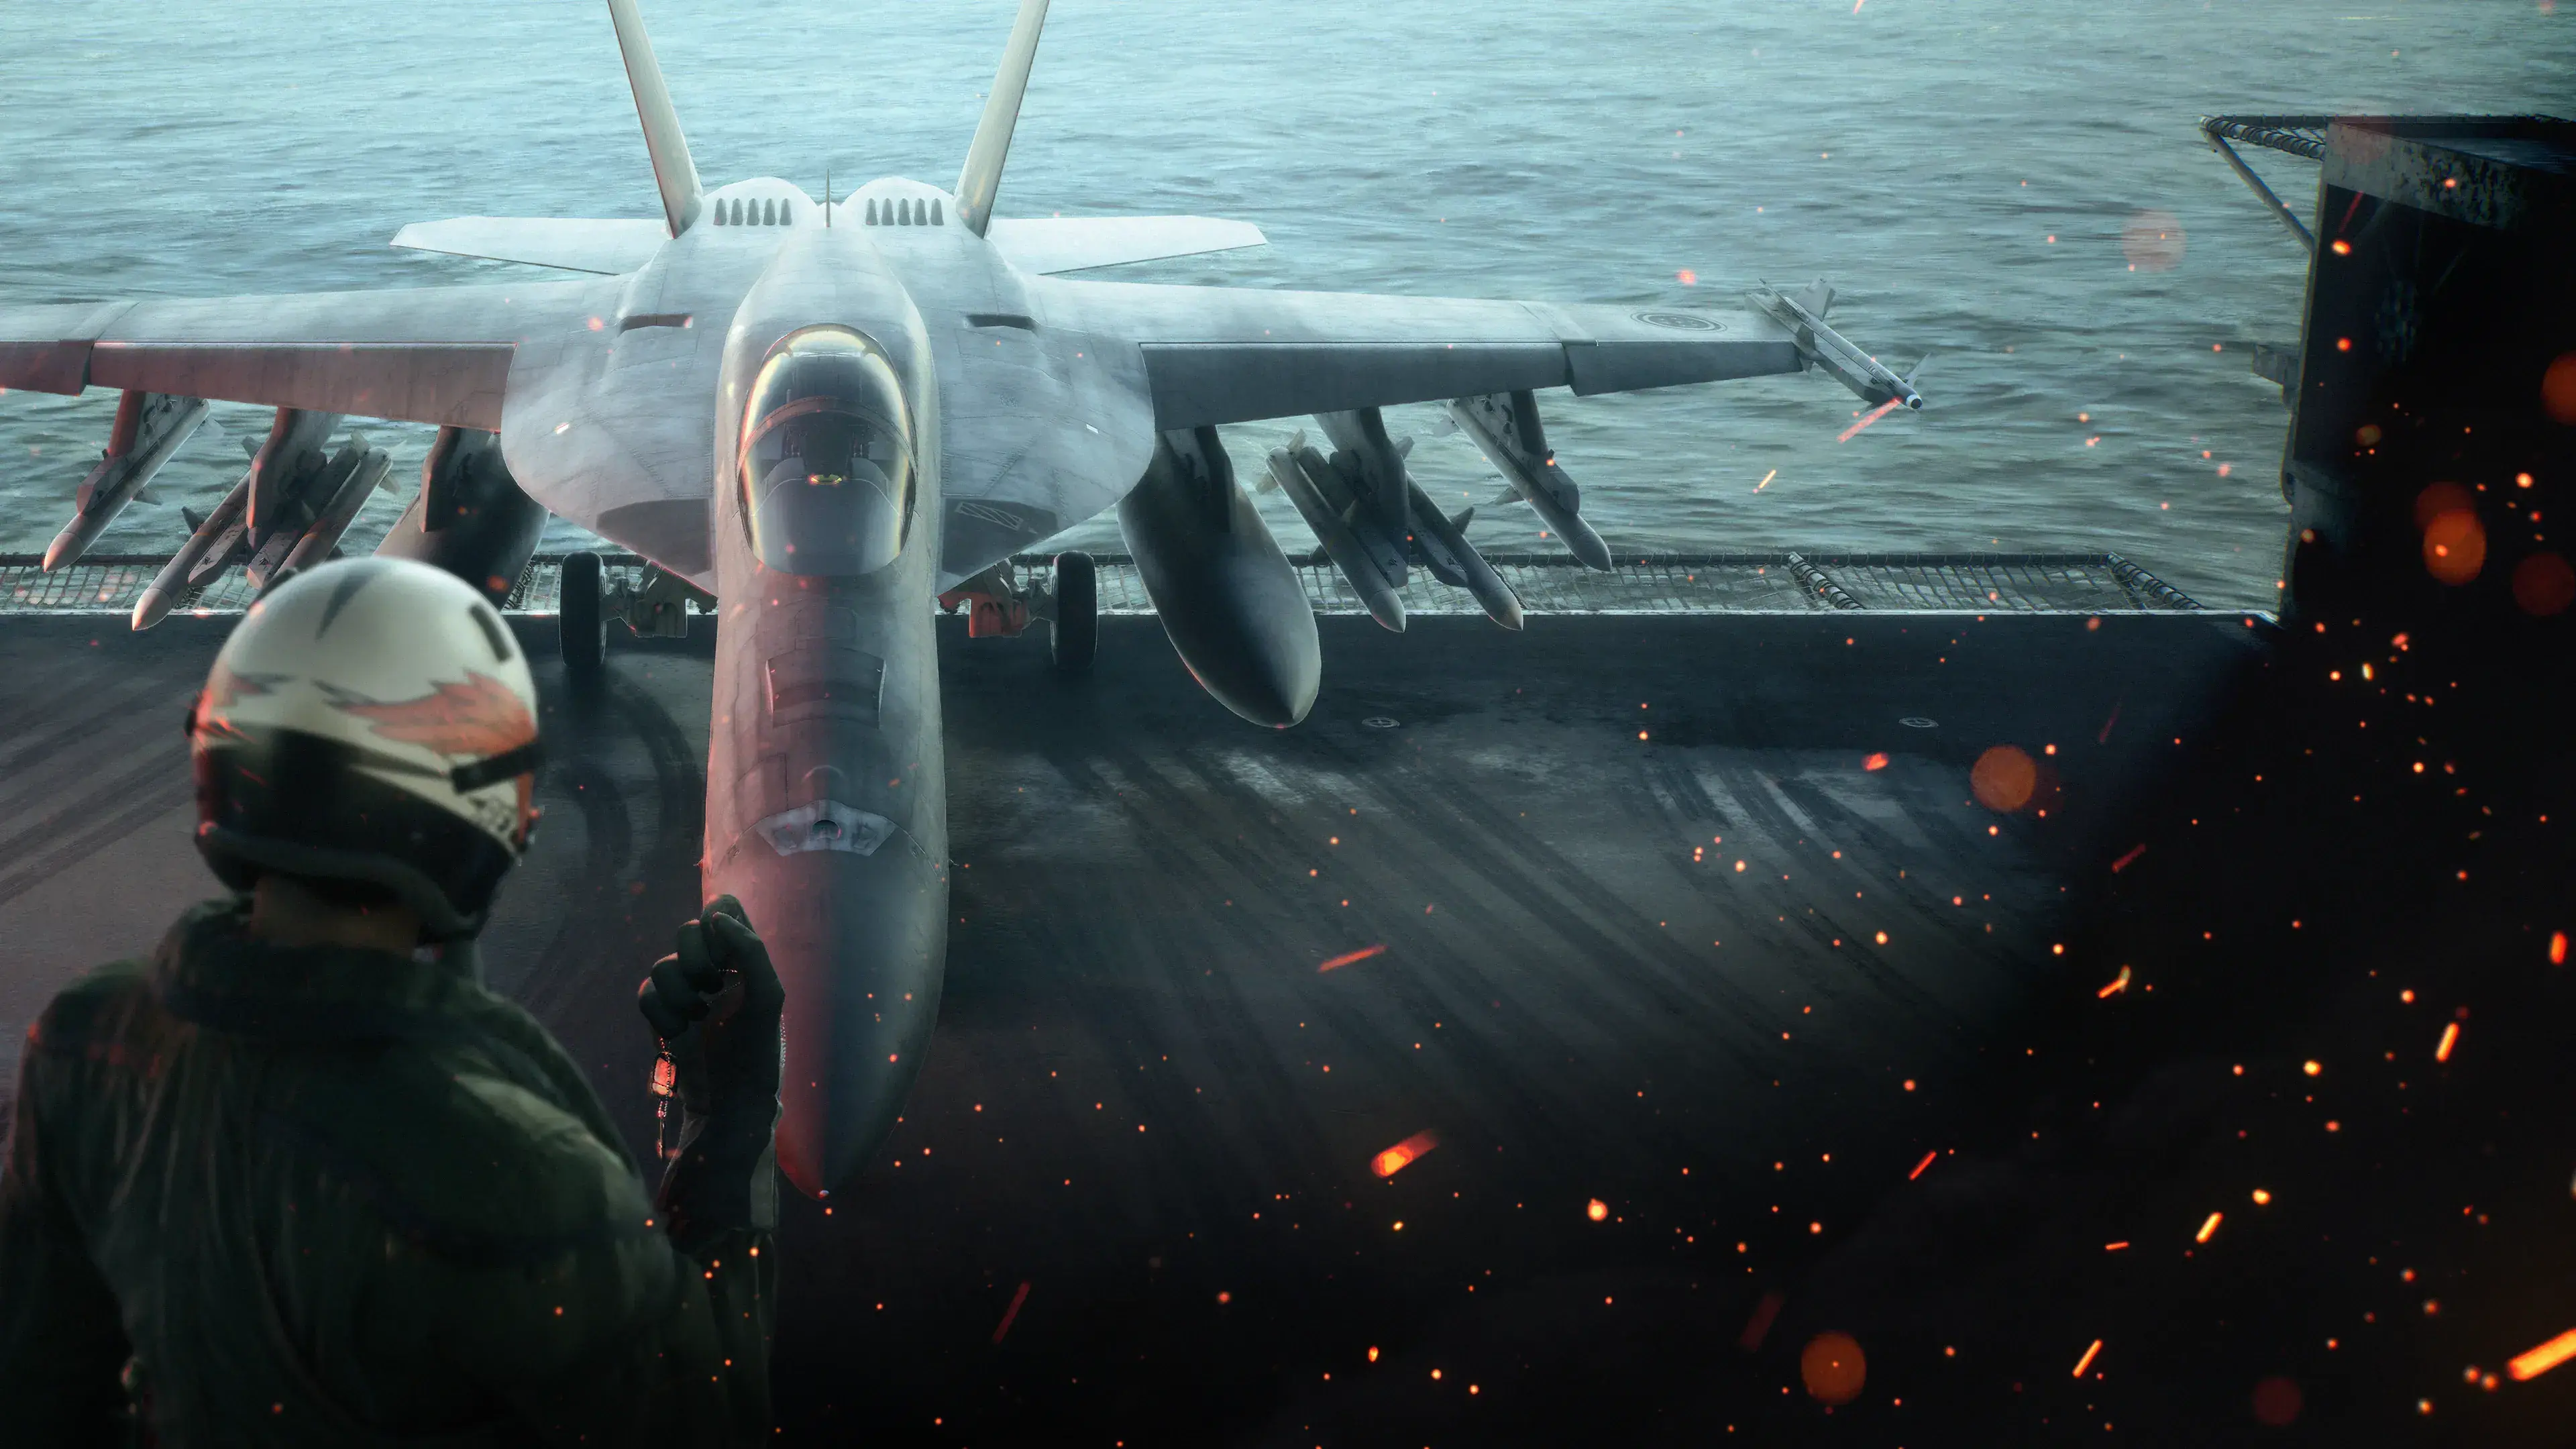
Ace Combat 8 Mission 15, “Wings of Wax,” is won by destroying the main engines on both Ladon strategic bombers before the friendly fleet takes too much damage. The important change is tactical: do not chase either bomber directly. Read the movement of its jamming circle, cut across its route, close until component target boxes appear, then put missiles and gunfire into the main engines. For a safer clear, damage both bombers before finishing either one; this reduces the work left after the survivor adds stronger missile defense.
The fleet escort is the real timer. UAVs, incoming fire, clouds, and secondary bomber components can all distract you, but only sustained damage on the Ladons’ required targets ends the mission.
Check the campaign list for your position and the aircraft selection guide for role-based loadout choices. The following sortie has its own Mission 16 ship-identification route.
Version scope — October 7, 2026: This page was edited from supplied research. No numbered game build or independent playtest is recorded for this guide. Check the current in-game descriptions and your platform before applying build-sensitive conditions.
Mission 15 objective and winning plan
| Situation | What to do |
|---|---|
| The bombers are outside lock-on range | Track the jamming circles on radar and fly an intercept course instead of following from behind. |
| Component boxes appear | Select a main engine and attack during the short close-range window. |
| Both bombers are still active | Spread engine damage between them so the second is not untouched when the first falls. |
| Missiles keep getting intercepted | Attack from another angle or destroy the survivor’s targetable CIWS before returning to its engines. |
| The fleet is taking repeated hits | Stop fighting UAVs for score and shorten your route to the Ladons’ next pass. |
| You overshoot during a turn | Reduce closing speed, pass to one side, and turn back toward the bomber’s projected route. |
The opening portion is largely setup. Two large aircraft approach, the original escort force engages, and Joker Flight is then ordered to protect the ships. You can head toward the northeastern area to meet the bombers early, but the Ladons can pull away during their first pass. Treat that first contact as positioning, not as proof that your aircraft is too slow to complete the mission.
Recommended aircraft and loadout
There is no supported evidence that one specific aircraft is mandatory. Players report successful clears with several different fighters, including the F-14D, F/A-18E, EA-18G, and MiG-31, as well as later aircraft. Those reports point to a shared requirement rather than a secret plane: you need enough speed to reach each attack window, enough control to avoid overshooting, and weapons that can deliver repeated air-to-air damage at close range.
Prioritize the following:
- Speed and acceleration: These help you recover after a pass and reach the next intercept point. They do not make a straight tail chase reliable.
- Short-window air-to-air damage: Multi-target or agile air-to-air weapons can add missiles to each opening, but jamming means you still have to get close.
- Gun effectiveness: Guns remain usable when a lock breaks, when missiles are being intercepted, or when you are already aligned behind an engine.
- Useful ammunition capacity: The encounter lasts through repeated attack runs. Do not spend every special-weapon round before you understand the route.
- Stable handling: A setup you can aim smoothly is more valuable than raw speed that causes constant overshoots.
Do not build the entire plan around long-range lock-ons. The player accounts disagree about how useful long-range missiles are against the Ladons, while the mission’s ECM behavior is consistently documented. A close intercept followed by missiles and guns is the dependable core plan.
Wingmen and support choices
One player reported an S-rank clear with an ECM wingman, and other successful runs used conventional fighter support. Treat that as an optional aid, not a guaranteed solution. Your wingmen can add pressure, but your route and target selection decide whether the engines receive damage before the fleet is lost. Choose support that complements your aircraft, then keep your own attacks focused on required bomber components.
Step-by-step Mission 15 walkthrough
1. Use the opening to set up the first intercept
The mission briefing recommends air-to-air weapons, so arrive ready for an aerial target even though the initial order is to escort the fleet. Once the two large contacts appear, start moving toward their route. You may try to meet them near the northeastern edge, but do not commit to following them all the way from that first position. They can accelerate beyond a practical pursuit.
Keep the fleet and the jamming circles in view on radar. The bombers make repeated runs toward the ships, which gives you future crossing points even if the first opportunity is poor.
2. Follow the jamming circle, not a missing target box
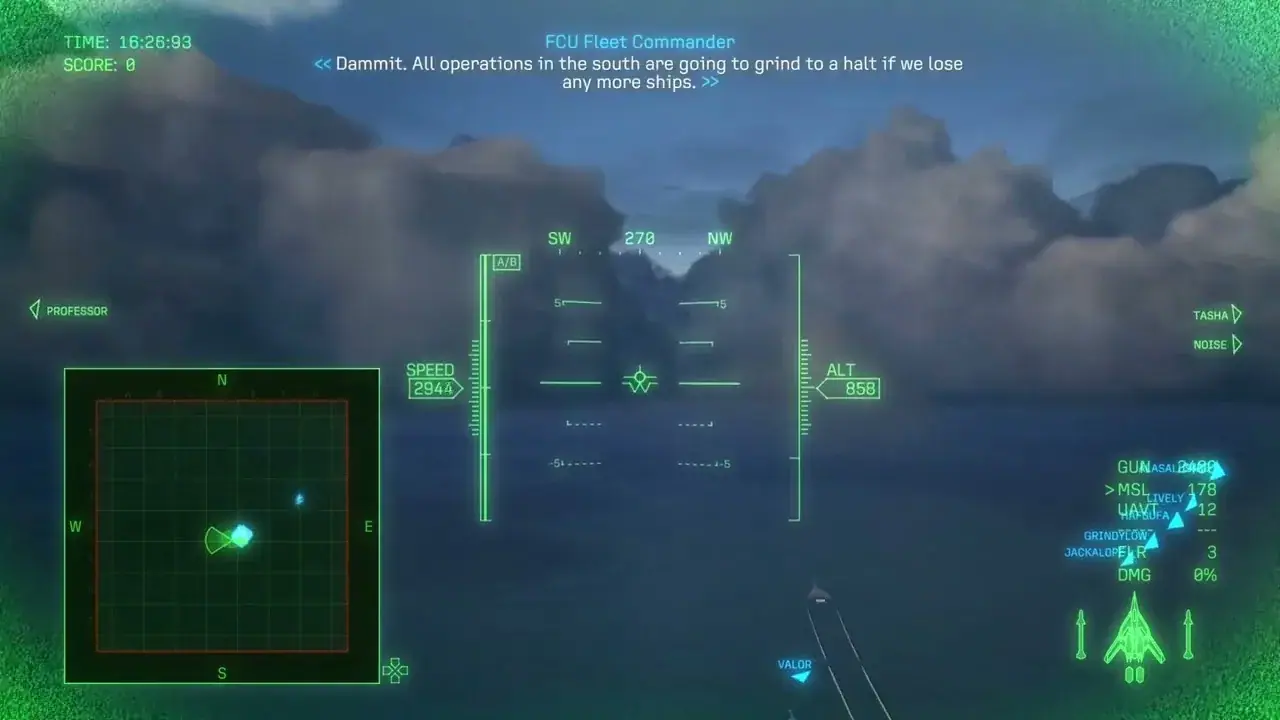
Use radar contacts to maintain direction when component target boxes disappear.
The Ladons’ ECM severely shortens lock-on range. When the component markers vanish, the bomber has not become invulnerable; you are simply too far away to receive a normal component lock. Watch the circular jamming contact on radar and note the direction it is moving.
Aim for where that circle is going. Cutting diagonally across its path is faster than matching every turn from behind. The route repeats enough for terrain-free cues such as cloud banks and the fleet’s position to help you anticipate the next pass. This is advice from observed runs, not a guarantee that every approach will line up identically.
3. Close until the main engines become targetable
Each Ladon has two main engines, and destroying those required engine targets brings the bomber down. At close range, component boxes appear for the engines and defensive parts. Cycle to a main engine before firing. A missile that hits another component may reduce incoming pressure, but it does not replace the completion requirement.
Fire standard missiles and suitable special weapons when the angle is clean, then add guns while the engine remains in your sight. Guns are especially useful when cloud cover breaks a lock or defensive systems intercept missiles. Do not wait for a perfect long-range shot that the ECM is designed to deny.
4. Damage both bombers before destroying one
A strong community strategy is to weaken engines on both Ladons in parallel. Attack the first bomber during its window, then switch to the other when their routes separate or the first escapes. The goal is to avoid entering the final part of the fight with one bomber destroyed and the other nearly untouched.
This is not a scripted “phase skip” that the game guarantees. It is a pressure-management tactic supported by multiple successful player reports. If both bombers are already close to destruction, the survivor has less time to threaten the fleet or use its additional defenses.
5. Control closure when the bombers turn
The Ladons change speed sharply around their attack runs. Radio guidance warns you not to overshoot and indicates that they slow when their wings open. When you see that change, stop holding maximum closure speed blindly. Ease off long enough to keep the engine in front of you, then accelerate as the bomber pulls away.
Approach slightly offset rather than directly through the bomber’s centerline. If you are about to pass it, use the crossing speed to begin a wide turn toward its next route instead of forcing a violent correction inside the clouds. One player found the HUD view easier for tracking than third-person view; that is a useful control preference to test, not a required setting.
6. Ignore distractions that do not protect the fleet
The bombers launch anti-air missiles and later deploy interceptor and explosive UAVs. Interceptors attack your aircraft, while explosive UAVs detonate when you get too close. Destroy a UAV when it blocks a firing line or creates immediate danger, but do not abandon an engine window to clear every small contact. The UAVs continue appearing, so trying to empty the sky wastes the fleet’s limited survival time.
The bombers’ missile launchers are targetable. Damaging them can reduce pressure when you cannot keep an engine lined up, but engines remain the priority. Evade enough to stay alive and preserve your approach; long defensive loops that leave the Ladons uncontested are usually more dangerous to the mission than taking a less comfortable angle.
7. Finish the surviving Ladon
After one bomber is destroyed, the survivor deploys laser CIWS that can intercept your missiles. The CIWS itself can be targeted. If the second bomber is already heavily damaged, stay on its engines and combine gunfire with missiles from clean angles. If repeated volleys disappear before landing, take a close component pass against the CIWS, then resume engine attacks.
Continue leading the bomber toward its next fleet pass rather than following its exhaust trail. Once both of its main engines are destroyed, the second Ladon falls and the mission is complete.
Target priority during each attack window
| Priority | Target | When it deserves attention |
|---|---|---|
| 1 | Main engine | Always the default target. Both bombers must lose their required engines for mission completion. |
| 2 | CIWS | Relevant after the first Ladon falls, especially if the survivor repeatedly defeats missile volleys. |
| 3 | Missile launcher | Useful when incoming fire is disrupting every approach, but secondary to engine damage. |
| 4 | Interceptor UAV | Shoot only when it blocks your attack line, threatens immediate damage, or can be hit without leaving the bomber. |
| 5 | Explosive UAV | Give it space or destroy it if it occupies your close approach; do not fly through it to force an engine shot. |
This order is a practical route to a clear, not a statement that every secondary target is worthless. A defensive component may be the correct immediate target when it prevents damage from reaching an engine. The distinction is that secondary kills support the engine attack; they should not replace it.
Common failure points and fixes
The target will not lock
You are probably outside the ECM-shortened range. Keep the jammer circle on radar, cut toward its projected path, and wait for component boxes before spending missiles. Do not interpret a missing box as an invulnerability period.
The bomber always escapes
A faster aircraft can make recovery easier, but raw speed does not solve a bad pursuit line. Break off the tail chase and aim at the bomber’s next pass toward the fleet. Stay at high thrust while repositioning, then manage closure when it opens its wings or begins a turn.
You keep overshooting in the clouds
Reduce speed before the crossing, use radar to preserve direction, and choose a cockpit or HUD presentation that makes the target easier for you to track. If visual contact is lost, continue toward the predicted route instead of making random tight turns inside the cloud layer.
The second bomber becomes overwhelming
On the next attempt, alternate early attacks between both Ladons. Leave both with damaged engines before you commit to the first kill. This does not prevent every defensive response, but it shortens the time you must fight the survivor alone.
You run out of special weapons
Use standard missiles and guns throughout the first attack cycles instead of dumping all special ammunition at uncertain angles. Special weapons improve a clean window; they do not compensate for firing from outside reliable lock range. If ammunition is consistently exhausted, choose a loadout with more sustainable air-to-air output or replay earlier missions for a better-suited aircraft and parts.
The fleet is destroyed before you finish
Stop farming UAVs and secondary components. Your recovery line should point toward the Ladons’ next fleet approach, not toward whichever small target is closest. Concentrate on engine damage, balance progress across both bombers, and accept a missed shot rather than turning away from the next intercept.
S-rank and replay guidance
The available information does not establish a verified score threshold, time threshold, or universal S-rank formula for Mission 15. Do not rely on an exact number presented without a matching in-game result. Players have reported S ranks on multiple difficulties and with different aircraft, which suggests that there is no single mandatory build.
For an S-rank attempt, first make the completion route consistent. Reach the bombers early, keep travel between attack windows short, damage both before the first kill, and use guns so broken locks do not create dead time. Destroy incidental UAVs or defensive components when they are directly in your line, but do not extend the mission merely to chase optional points. A balanced-damage clear has produced S ranks for some players, but it remains a player-tested strategy rather than a guaranteed scoring rule.
The reliable success condition is simpler than the ranking system: protect the fleet long enough to destroy the main engines on both Ladons. Once your intercept lines make that repeatable, you can optimize speed, damage taken, and extra targets one factor at a time without confusing a failed experiment with the core walkthrough.